version 1.0
Contents:
1. Execution
2. Defining a session
3. Session Bookmarks
4. Preferences
5. Starting a session
6. Statistics
7. Stopping a session
8. Recording monitoring data
9. Using the monitor without GUI
10. Wrong behaviors and results (bugs)
11. Running the program in other directory
12. Reinstallation recommendations
a) In the command line type:
cd \vrtp\rtpMonitorb) or run the batch file rtpMonitor.bat in the c:\vrtp\rtpMonitor directory. There is a Windows shortcut to this file in the same directory. This shortcut can be copied to the Desktop to create an icon for the rtpMonitor program.
java org.web3d.vrtp.rtp.RtpMonitor
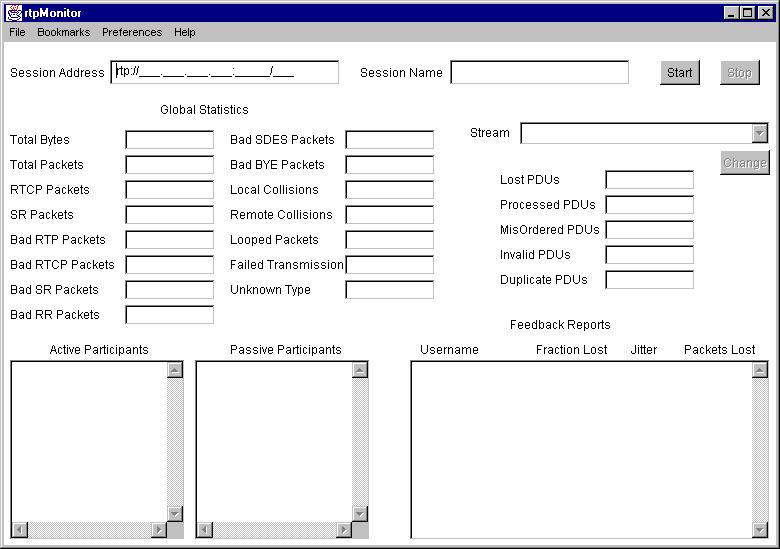
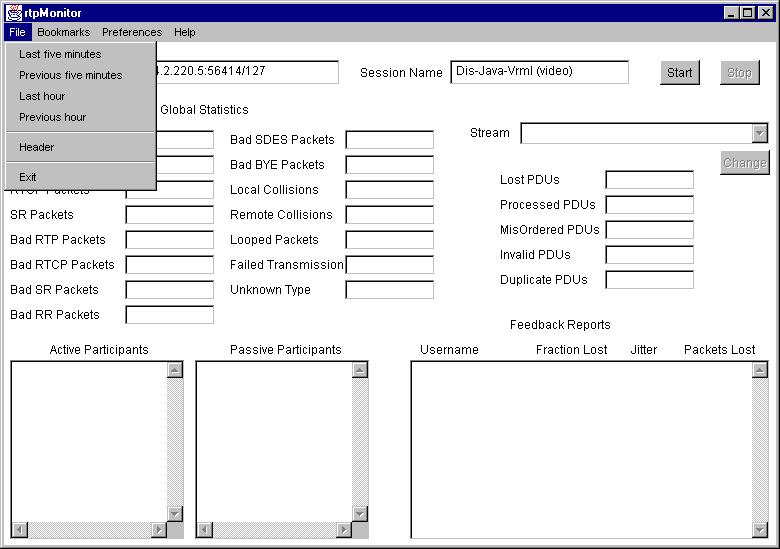
Using this call with no arguments the GUI version of the program will be executed. The following window is presented:
In the session box enter the session address/port/ttl as in the example below:
rtp://224.2.125.60:55690/1273. Session Bookmarkswhere :
Multicast IP address: 224.2.128.60
RTP port: 55690
TTL : 127
As an option to writing the session address, it is possible to select a session bookmark. The program already comes with some pre-defined session bookmarks. Bookmarks can be added and deleted.
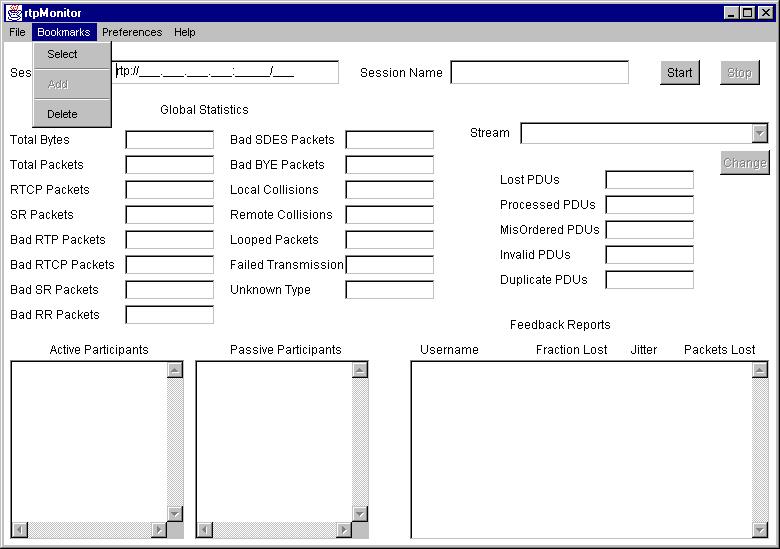
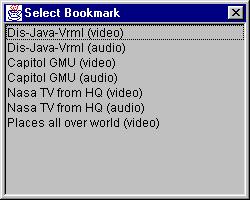
The option "Select" displays a window with the pre-defined session bookmarks. Click over the desised session to select it.
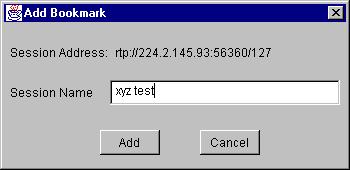
The option "Add" allows the insertion of a new session bookmark. This
option is enabled only when a session has been started. The session
address is the session of the current session. The session name will be
the bookmark name.
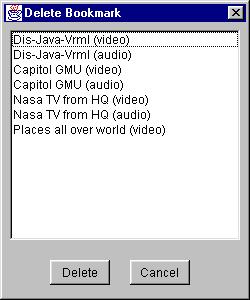
The option "delete" allows the deletion of a bookmark. A window with the existing bookmarks will be presented and the user can select the bookmark to be deleted and click the "Delete" button.
Before starting to monitor a session, the user should set up the program preferences. The menu "Preferences" allows the verification and modification of the program preferences. Selecting Preferences -> Modify the following window will be presented:
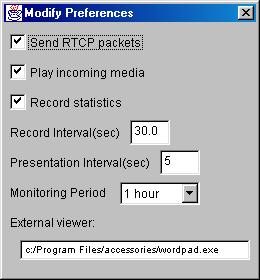
The options are:
The selected preferences will be saved on file and will be available
in the next time the program is executed.
After entering the session address and the desired option, the user
can click on the start button to start a monitoring session. If the supplied
session address is invalid or if any other problem in establishing a session
occurs an error message will be displayed in the feedback text area.
The program displays the following types of information about the session:
Clicking the "stop" button can stop a session. After stopping a session,
the user is allowed to change the session address and preferences before
starting monitoring again.
A new subdirectory is created for each session address, with the following name:
session [IPaddress] port [port number]
Inside this subdirectory several files will be generated and updated during a recording session. They are:
The external viewer defined in the preferences will be called to present the output files. These options can be executed during a monitoring session. Below is an example of the Last five minutes file using MS Windows WordPad editor as an external viewer. The format of the data is stored in the file statisticsHeader.txt, also shown below.
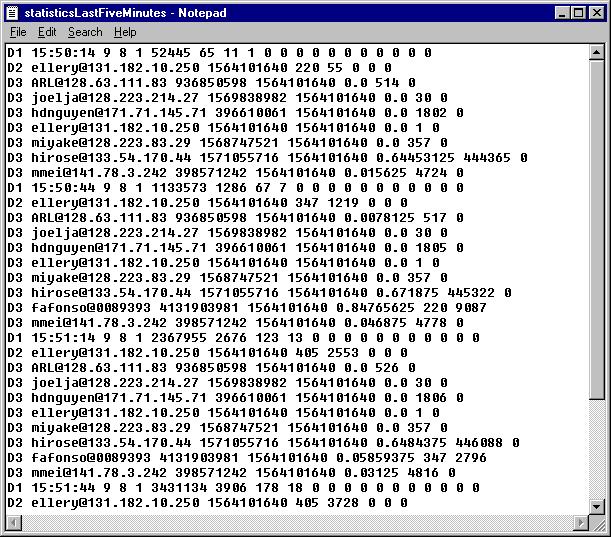

Each line of data is preceded with a header indicator (D1, D2 or D3),
which indicates the line of the statisticsHeader file that contains the
description of the data being stored (H1, H2 or H3).
9. Using the monitor without GUI
The program can be executed without the GUI (no statistics are presented) by passing the session address and options data via the command line. The format is:
java org.web3d.vrtp.rtp.RtpMonitor sessionAddress [options]The options are:
-part : the monitor participates in the session (sends RTCP packets as a receiver in the session)Example: java org.web3d.vrtp.rtp.RtpMonitor rtp://224.120.67.46/64542/127 -play -record -e 24-play : the monitor play streams
-record : the monitor records statistics
-i nnn : nnn defines the recording interval in seconds (default 30s)
-e ppp : ppp defines the monitoring duration in hours (default: 168 hours = 1 week)
Action: runs the program for monitoring the session in the IP address 224.120.67.46, port 64542, with TTL = 127. It does not participate in the session, but plays the incoming streams and records statistics on files. The recording interval will be 30 seconds and the monitoring duration will be 24 hours.
To stop the program press <Ctrl-C->
10. Wrong behaviors and results (bugs)
Several early bugs were related to JMF1.1 and were corrected in JMF2.0
Early Access. A new bug was observed in JMF 2.0 Early Access: the Cumulative
Number of Packets Lost ( Packets Lost in the Feedback Area ) is returning
wrong values after some time. This problem was reported to Sun's JMF-bugs
list in 08-Jun-1999, but it is still present in JMF2.0 Beta.
11. Running the program in other directory
To run the program in another directory copy the files "bookmarks.txt" and "Header.txt" to the new directory. Then run rtpMonitor from this directory.
Example:
copy bookmarks.txt c:\Mydir
copy Header.txt c:\Mydir
cd \Mydir
java org.web3d.vrtp.rtp.RtpMonitor
12. Reinstallation recommendations
In order to continue using the previous bookmarks and preferences, the files "bookmark.txt" and "preferences.txt" in the directory "\vrtp\rtpMonitor" should be saved and restored after the new installation.
To reinstall the program it is recommended the deletion of the following directories:
- \vrtp\javadoc\rtpMonitor
- \vrtp\org\web3d\vrtp\rtp
- \vrtp\rtpMonitor